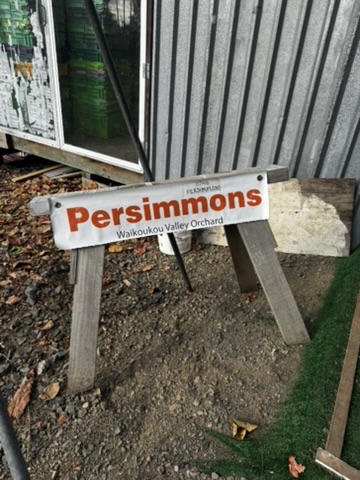
For the last nine autumns, I’ve wandered 200 metres down Old North Road to collect persimmons from Jim Ireland’s trees. To me, they are the true flavour of the season’s…
There’s a very particular moment in the year at Vineyard Cottages when everything shifts. The light softens, the evenings arrive just a little earlier, and suddenly the idea of a…
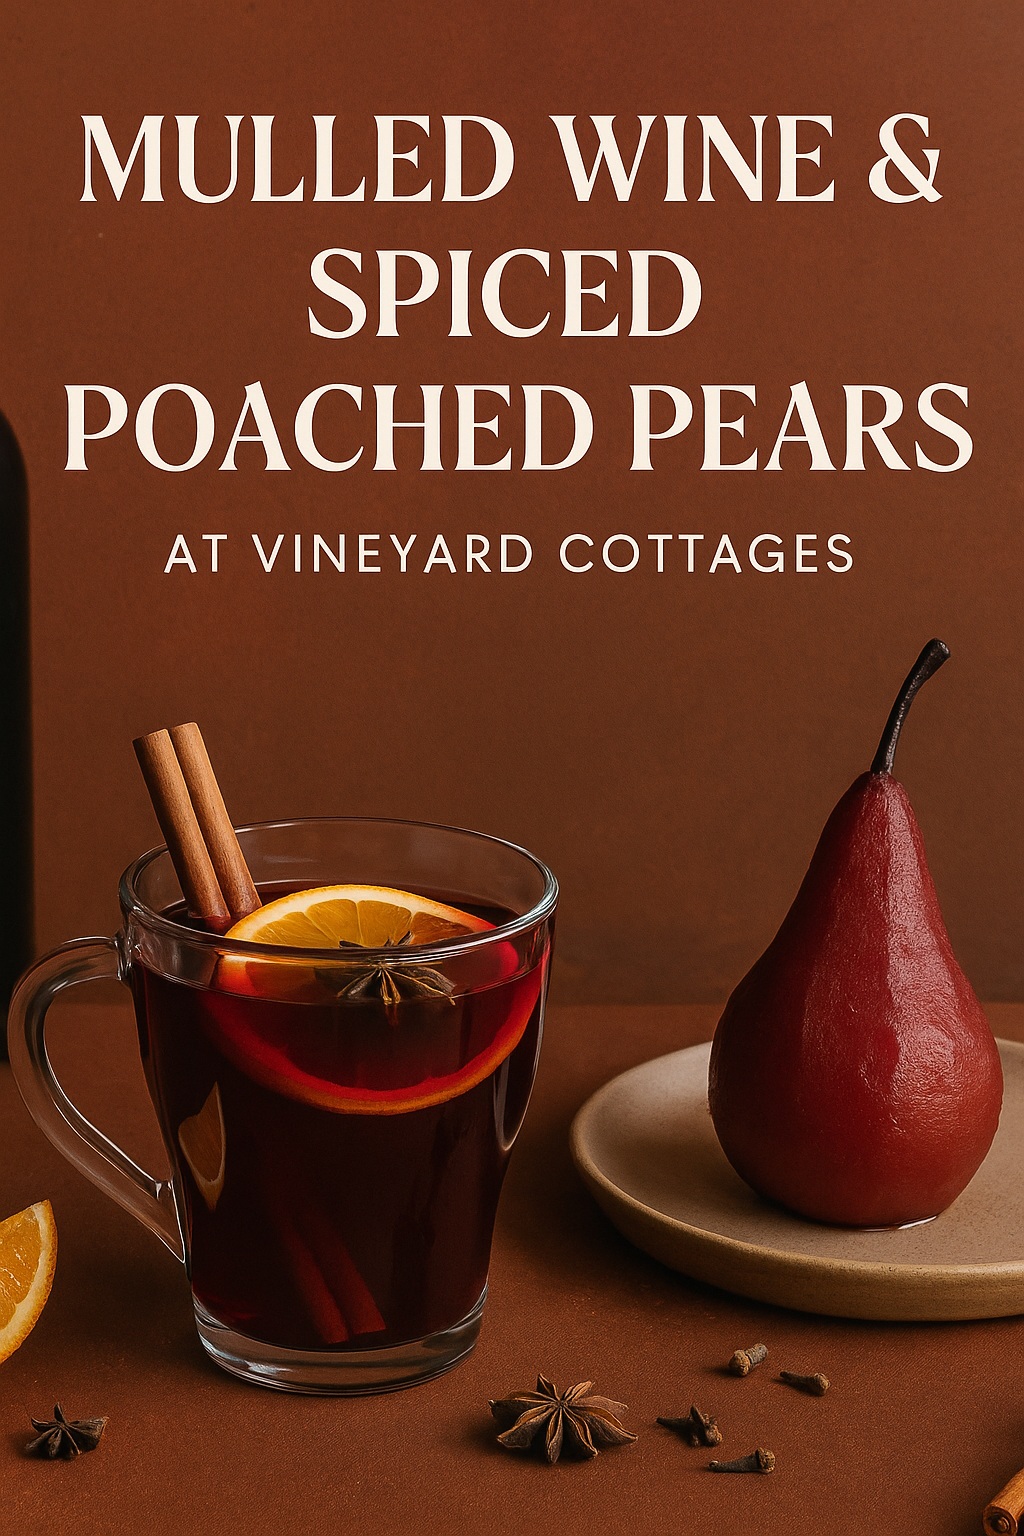
Winter Warmth in a Glass and on a Spoon: Mulled Wine & Spiced Poached Pears at Vineyard Cottages There’s something undeniably magical about the smell of mulled wine wafting through…
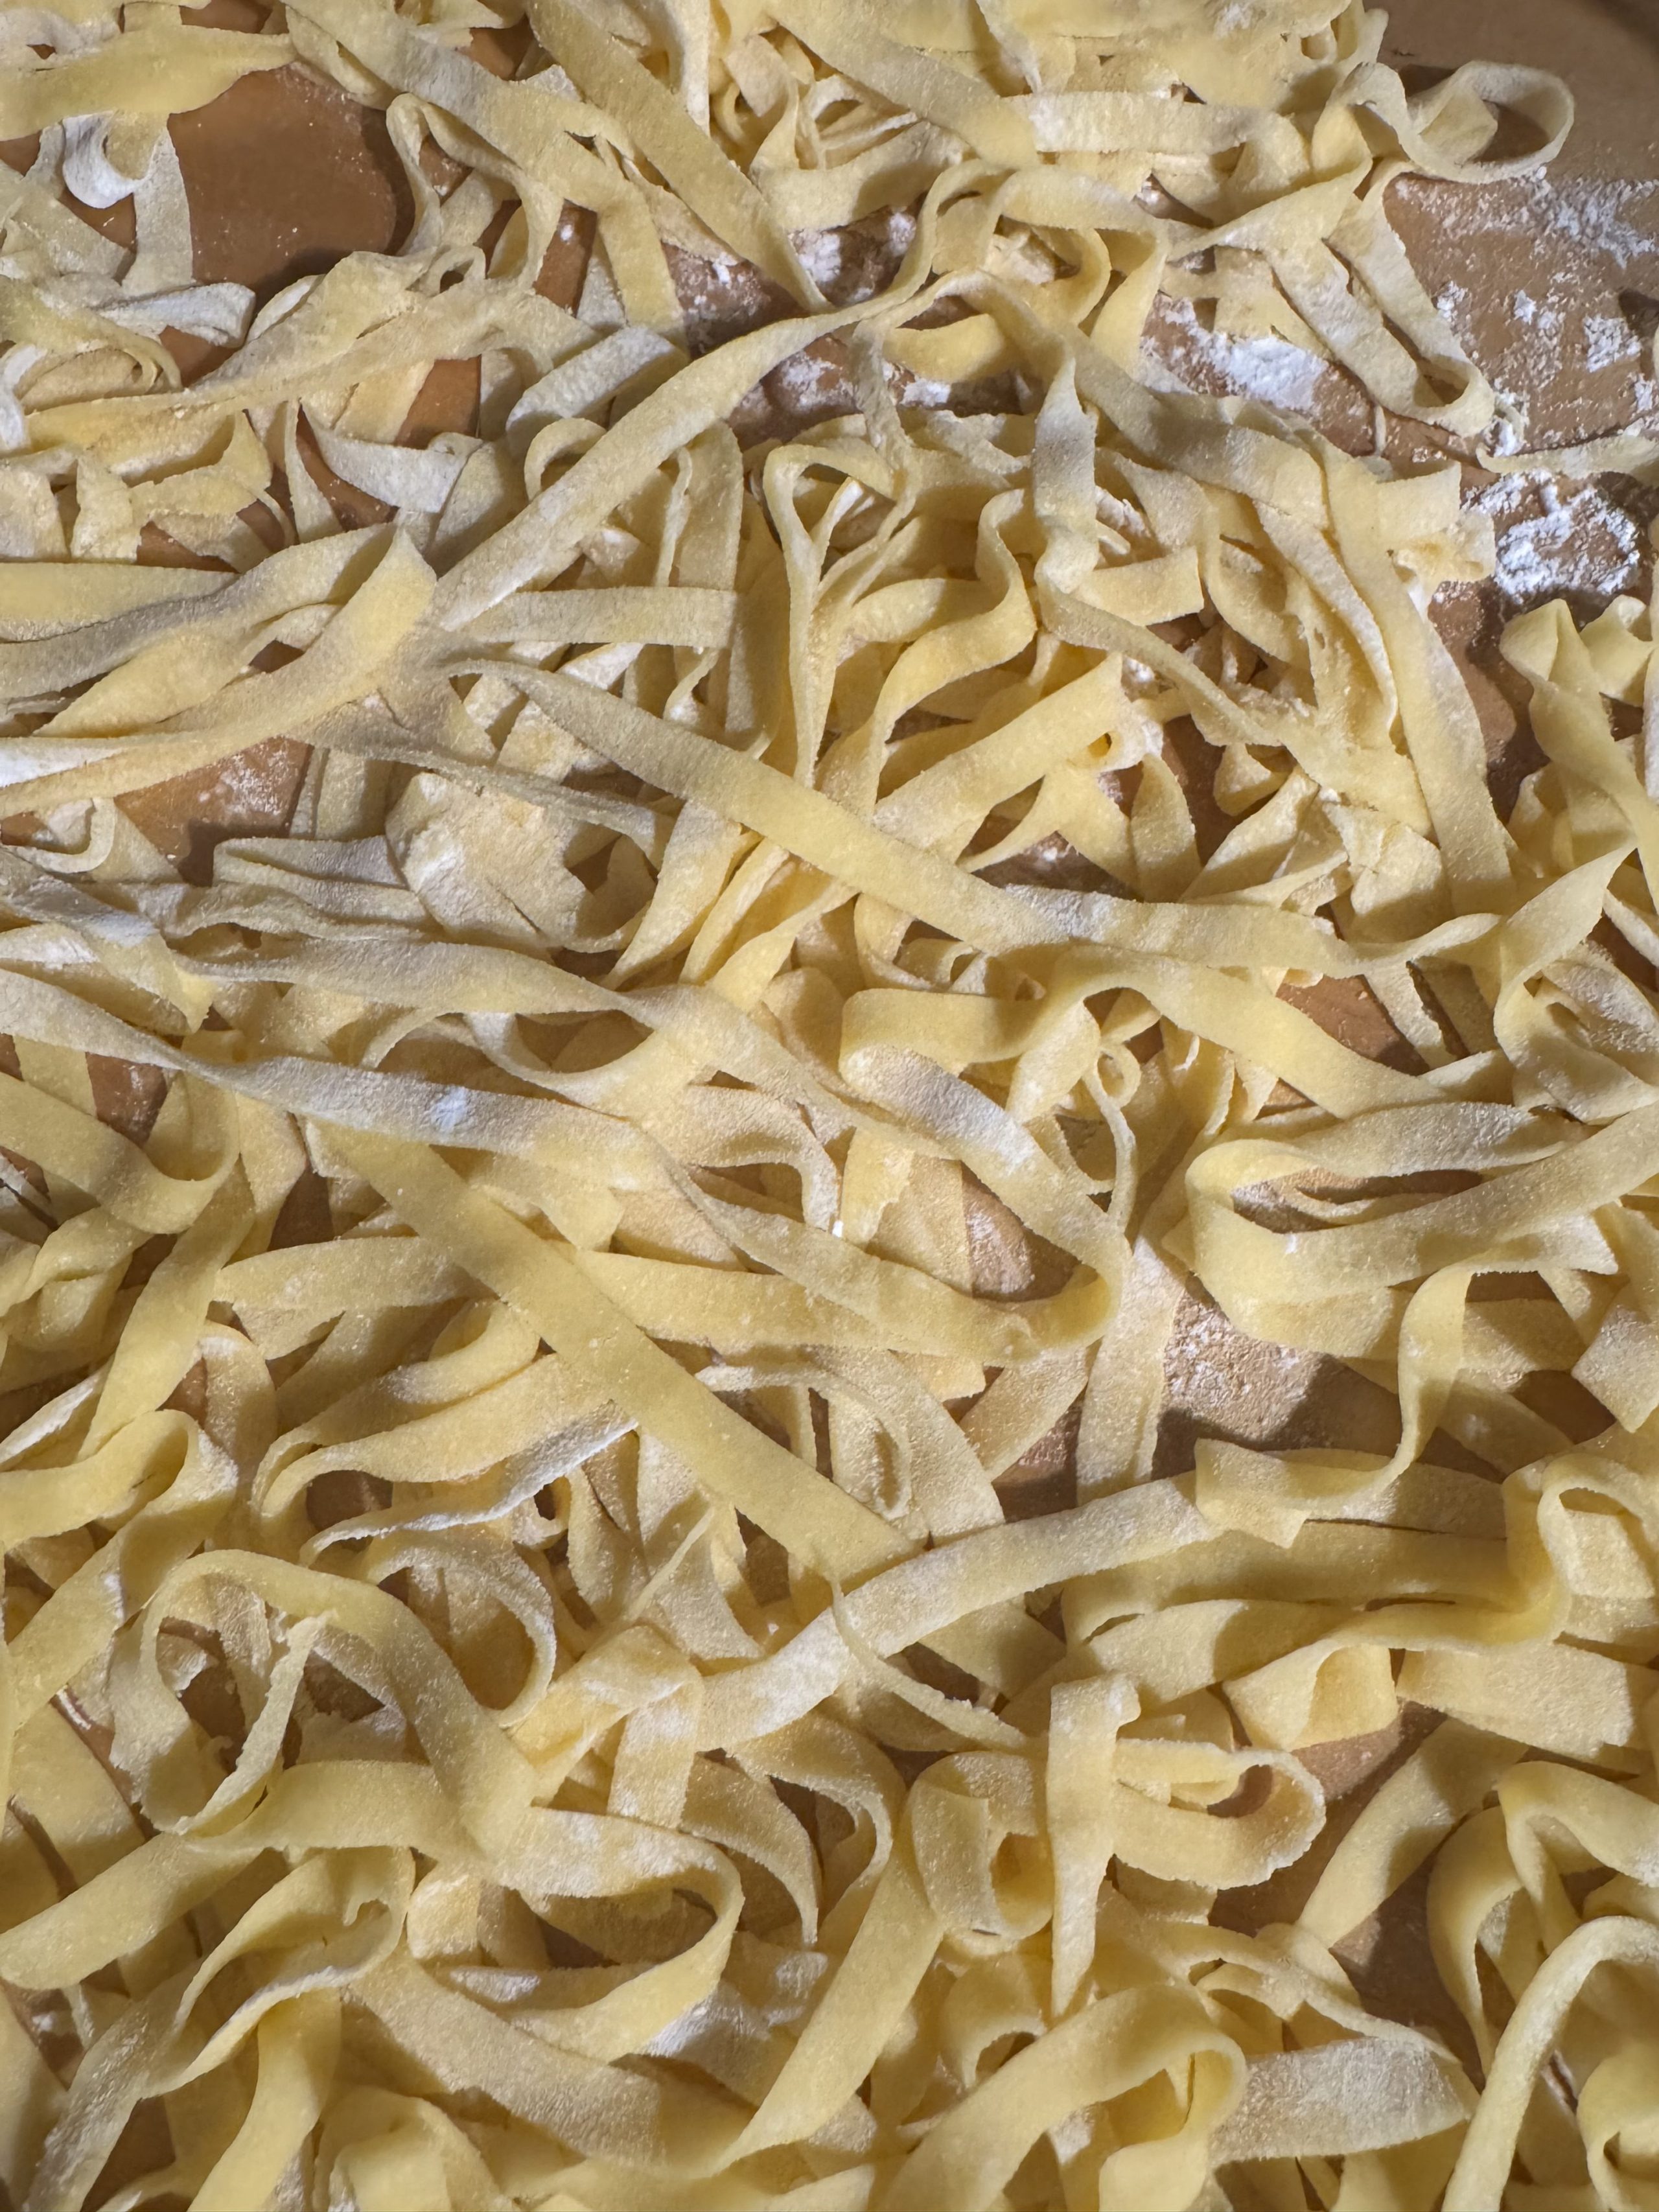
There’s a certain magic that happens when flour and eggs meet on a wooden bench. It’s humble, ancient, and endlessly satisfying. At Vineyard Cottages, we believe that some of the…
This Lemon and Poppy Seed cake is a delicious addition to afternoon tea! We have a fabulous number of lemon trees at Vineyard Cottages and of course they all ripen…
Farro is an ancient grain packed full of nutrients. It is high in protein (always a tick in the box) fibre and antioxidants. Years ago I was introduced to it…
We are working on our automated voucher system at the moment. In the meantime, if you would like to send someone a gift, please fill in the form and we will be in touch to arrange.